Technical Support
Video Alignment (Calibration) – ST older (<6.0) drivers
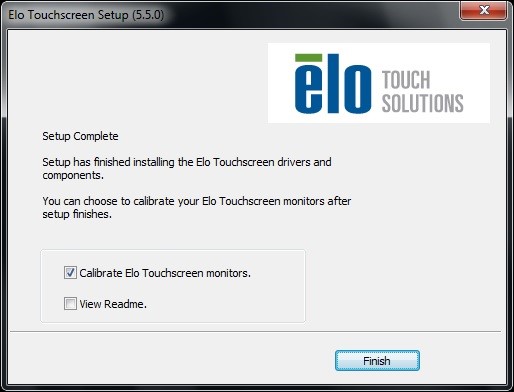
- 1) During driver installation a check box can be selected to run the alignment program automatically after setup completes.
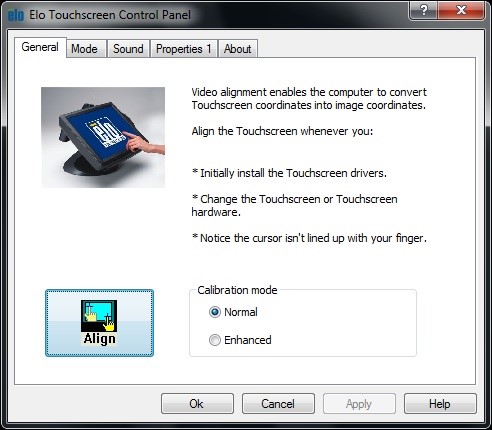
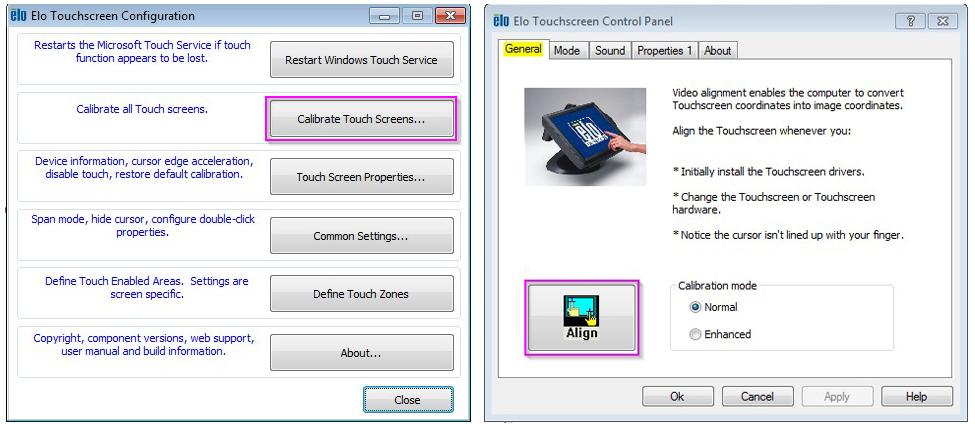
- 2) Through the Elo Touchscreen Control Panel application in the General tab by clicking the "Align" button.
- 3) Through the Elo Touchscreen Control Panel application in the Properties tab for the individual monitor and clicking the "Align"/"Re-Align" button.
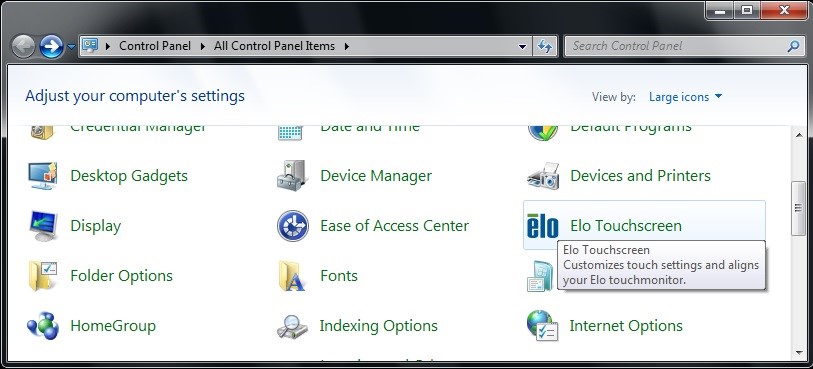
- 4) Double-click the Elo icon on the system tray. The Elo Touchscreen Control panel will appear.
- 5) By running EloVa.exe directly from the Windows command line or \Windows\System32 directory.
- 6) When you run EloVA using one of the above options, touch each of the three targets as they appear on the screen.
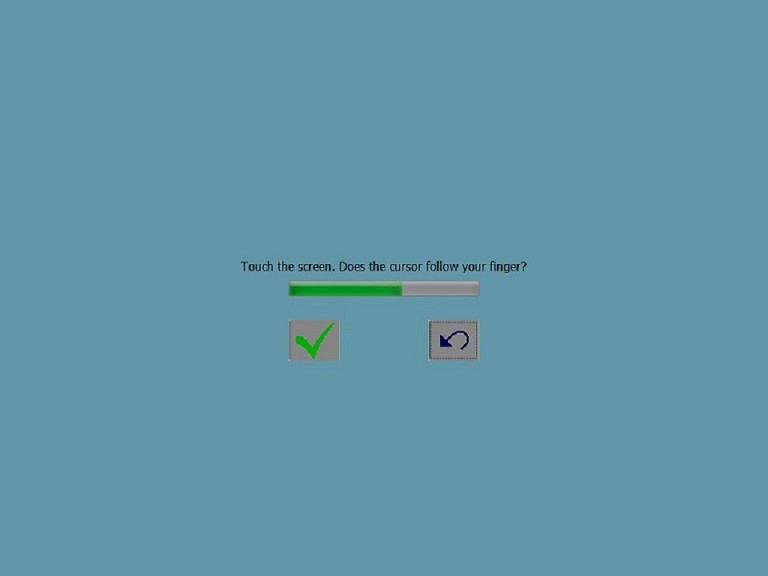
- You will then be asked to touch various points on the screen to verify that the cursor appears at the position touched. If the cursor appears at the position touched, click the green arrow to accept and exit out of the calibration program. If the cursor does not appear at the position touched, click the blue curved arrow and the calibration program will run again.
- When EloVa runs for the first time, it will attempt to calibrate all controllers and/or serial ports that were installed. Press the Esc key on the keyboard to terminate or skip calibration for any monitor, or you can also allow the program to time out (as indicated by the progress bar). The EloVa program will continue until all controllers and/or ports have been calibrated
- Click the Calibrate Touch Screens buttonMulti-touch driver (6.9 +) or the Align button Single touch driver ( 6.0)
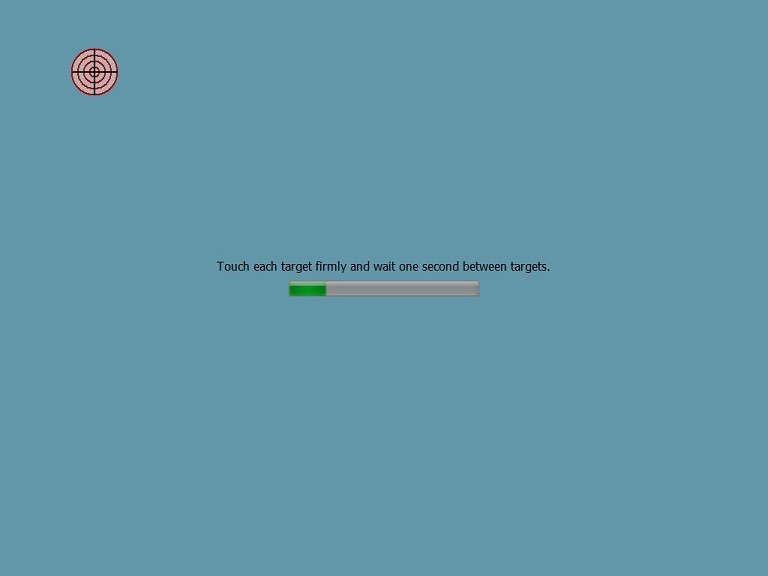
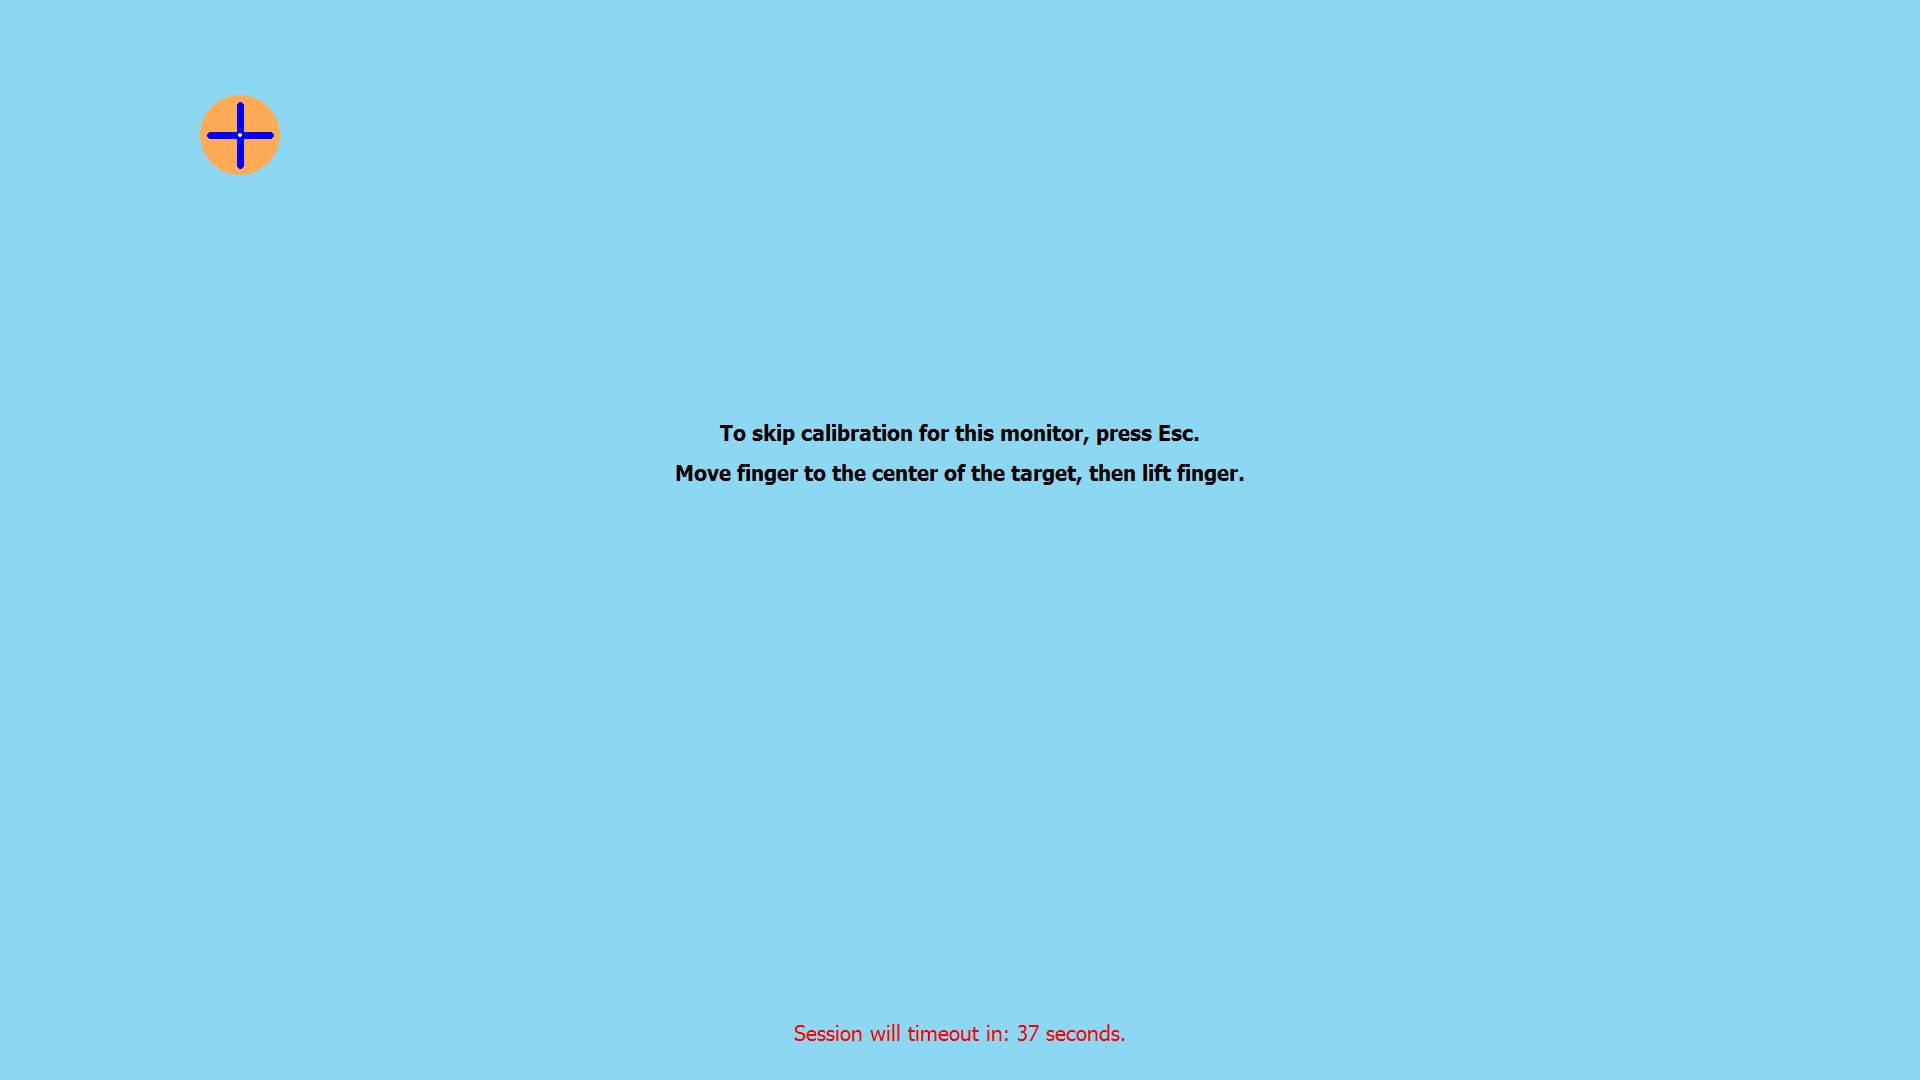
- Wait for the target to appear (as below), then touch and release the target.
- The target will move to the lower right corner; touch and release the target.
- The target will move to the upper right corner; touch and release the target.
- A test screen appears. You may tap various places on the screen or you may drag around; the cursor should follow in either case. Either the Accept button (multi-touch driver) or the green check mark button (single touch driver) must be tapped to permanently store the calibration.
- The green bar in the single touch driver is a progress bar – be sure to tap the green check mark button before the bar times out. If the bar times out, the calibration data will be discarded.
- Some monitors (those with PCAP or infrared touch technology) will return to the main driver screen immediately after the upper left target is touched (the other two targets will not be displayed and the test screen will not be displayed). This is because these touch technologies are precalibrated at the factory, and a single touch is used only to detect orientation (landscape or portrait) and position if the monitor is part of an array of multiple monitors.
- Some other useful guidelines for users would be the following:
- 1) List of tools
- 2) There should be lots of descriptive screenshots. (highlighted areas, red circles)
- 3) There isn’t a link to our drivers just in case they need to update their driver
- a) If they’re having calibration issues, then I would assume they need to update their driver first
- 4) The instructions should start with opening our Elo Configuration Utility or Elo Touchscreen Application to the calibration tool. (As stated below if they don’t have this then how to get the utility).
- 5) The instructions only include information about find the tool with XP or Windows 7. It should include other operating systems or at least mention that the steps are Win 7 also work for Win 10. Change wording for it to Win 7 and newer.
- 6) With the 6 series driver it is not a green check, it is an “Accept” button.
- 7) Should explain how to test the calibration before accepting.
- 8) Quick statement for what to check if they continue to have calibration issues, like stickers or anything on the glass, mentioning all the glass is part of the touch screen, etc.
Video Alignment (calibration) ensures that the mouse cursor appears at the position of touch.
Elo uses a three-point calibration sequence that accepts touch screens with any orientation of the X or Y-axis, whether it’s in landscape or portrait mode.
Once calibrated, the touch screen will be ready to use automatically each time the system is started.
The video alignment (calibration) program can be launched through the following scenarios:
